The Webrtc Bootcamp 2023 For Beginners

- Description
- Curriculum
- FAQ
- Reviews
Webrtc – WEB real time communication is a media engine with javascript APIS that supports video, voice, and generic data to be sent between peers, allowing developers to build powerful voice- and video-communication solutions .
WebRTC is not only about for voice or video calling It is quite powerful and versatile that You can use it to build a group calling service, add recording to it or use it only for data delivery .
In this course you are going to learn in depth of webrtc from beginning and know how to use webrtc in application. So basically you will learn by doing. You will learn webrtc by creating a webrtc application where you will learn how to stream video, how to create signaling server, how to connect with other user, how to call and accept or receive these call. How to toggle on off the video or audio, how to send data through webrtc data channel, learn also how to record video and download the video. How to share screen in realtime and at the end you will learn how to create a group video calling application. Not only about application but also you will learn about underlying technology that powerd the webrtc apis. So no more talking, if you are interested about webrtc and thinking about starting your journey in real time communication then this course will help you start good. You will get complete direction to reach the destination. So no more talking, lets start the journey.
-
4
 Section Intro
 -
5
Where to move?
-
6
Project Source Code and Resource File
-
7
 Design Login Page
 -
8
Setup Environment
-
9
Create and Design Interface
-
10
Signaling Sever
In this course we are going to use websocket and socket.io for signaling server.
-
11
Get Username Form URL
[ N.B: You can get http://localhost:8080/login.html in address bar just type and run static command in cmd since it will not create any issue. You will see how to run static server in lecture 11 at time 2:20. Make sure you run this cmd in webrtc folder. Then type the url(http://localhost:8080/login.html) and you will get the login page. ]
-
12
Get Local Media
-
13
Creating Signaling Server
-
14
Completing Login System
-
15
Create, Send and Receive Offer
-
16
Testing Offer System
-
17
Create, Send and Receive Answer
-
18
Setup Ice Candidate
-
19
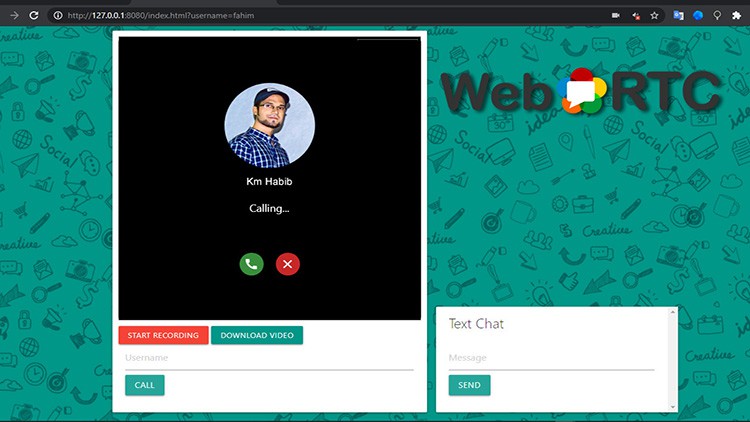
Designing Call Page
-
20
Call Status
-
21
Call Accept and Reject
-
22
Streaming Video in Call Accept
-
23
Call Toggle Option Design
-
24
Toggle Audio Video
-
25
Closing Connection
-
26
Create Text Messaging System
-
27
Testing Data Channel for Text Messaging .
-
36
Section Intro
-
37
Resource File
-
38
Setup Environment
-
39
Creating Host Meeting and Join Room
-
40
Get User Info
-
41
Get User Connected to Room
-
42
Add User and Process Media
-
43
Create Connection
-
44
Create Offer, Update Media and Process SDP
-
45
Leaving Room
-
46
Testing and Explaining Code FLow
-
47
complete project source code