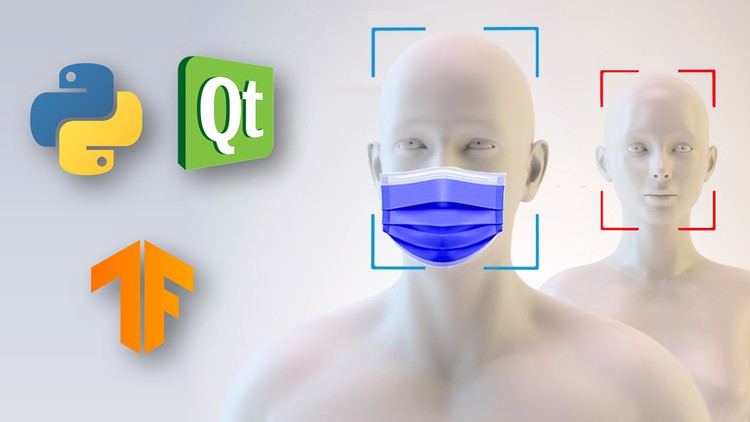
Face Mask Recognition Desktop App with Deep Learning & PyQT
- Description
- Curriculum
- FAQ
- Reviews
Project that you will be Developing:
Prerequisite of Project: OpenCV
-
Image Processing with OpenCV
Section -0 : Setting Up Project
-
Install Python
-
Install Dependencies
Section -1 : Data Preprocessing
-
Gather Images
-
Extract Faces only from Images
-
Labeling (Target output) Images
-
Data Preprocessing
-
RGB mean subtraction image
-
Section – 2: Develop Deep Learning Model
-
Training Face Recognition with OWN Deep Learning Model.
-
Convolutional Neural Network
-
-
Model Evaluation
Section – 3: Prediction with CNN Model
1. Putting All together
Section – 4: PyQT Basics
Section -5: PyQt based Desktop Application
Overview:
I will start the course by installing Python and installing the necessary libraries in Python for developing the end-to-end project. Then I will teach you one of the prerequisites of the course that is image processing techniques in OpenCV and the mathematical concepts behind the images. We will also do the necessary image analysis and required preprocessing steps for the images. Then we will do a mini project on Face Detection using OpenCV and Deep Neural Networks.
With the concepts of image basics, we will then start our project phase-1, face identity recognition. I will start this phase with preprocessing images, we will extract features from the images using deep neural networks. Then with the features of faces, we will train the different Deep learning models like Convolutional Neural Network. I will teach you the model selection and hyperparameter tuning for face recognition models
Once our Deep learning model is ready, will we move to Section-3, and write the code for preforming predictions with CNN model.
Finally, we will develop the desktop application and make prediction to live video streaming.
What are you waiting for? Start the course develop your own Computer Vision Flask Desktop Application Project using Machine Learning, Python and Deploy it in Cloud with your own hands.
-
6Download ResourcesText lesson
-
7DataVideo lesson
-
8Data Preparation ProcessVideo lesson
-
9Data Preparation: Import Required Python LibrariesVideo lesson
-
10Data Preparation: Get all Images Path in FolderVideo lesson
-
11Data Preparation: LabelingVideo lesson
-
12Data Preparation: Get Images Path and Labelling Images in multiple FoldersVideo lesson
-
13Step - 3, Face DetectionVideo lesson
-
14Face Detection: Read ImageVideo lesson
-
15Face Detection: Load ModelVideo lesson
-
16Face Detection: Blob from ImageVideo lesson
-
17Draw Bounding Box for Detected FaceVideo lesson
-
18Step - 4, Crop the Detected FaceVideo lesson
-
19Step - 5, Image Processing - Blob from Image (RGB mean subtraction image)Video lesson
-
20Step - 5, Image Processing - Rotate & Flip ImageVideo lesson
-
21Step -5, Remove Negative values and NormalizeVideo lesson
-
22Apply Data Preparation process to All imagesVideo lesson
-
23Step - 6, Save Preprocessed Data in Numpy zipVideo lesson
-
24Load Numpy Zip Data into NotebookVideo lesson
-
25One Hot Encoding to target or output variable (y)Video lesson
-
26Split the Data into Train and Test setsVideo lesson
-
27Convolutional Neural Network ArchitectureVideo lesson
-
28Develop CNN model in TensorFlow 2Video lesson
-
29Compile CNN model, Setting Adam Optimizer & Loss FunctionVideo lesson
-
30Train CNN modelVideo lesson
-
31Save Deep Learning Model in TensorFlowVideo lesson
-
32Load TensorFlow based CNN Model in a NotebookVideo lesson
-
33Defining Labels and Setting ColorsVideo lesson
-
34Step - 1, Face DetectionVideo lesson
-
35Step -2, Data PreprocessVideo lesson
-
36Step - 3, Get Predictions from CNN Model for Face MaskVideo lesson
-
37Generate text for Prediction infoVideo lesson
-
38Get Face Mask Prediction to an ImageVideo lesson
-
39Real Time Face Mask PredictionVideo lesson
-
40What you will DevelopVideo lesson
-
41Install Visual Studio CodeVideo lesson
-
42Setting Up ProjectVideo lesson
-
43Install PyQt and Connect VS code to Virtual EnvironmentVideo lesson
-
44PyQt BackgroundVideo lesson
-
45Your First PyQt App with QtWidgetsVideo lesson
-
46Qt TemplateVideo lesson
-
47QtWidgetsVideo lesson
-
48QWidgetVideo lesson
-
49QLabelVideo lesson
-
50QLineEditVideo lesson
-
51QPushButtonVideo lesson
-
52QComboBoxVideo lesson
-
53Placing & Arranging WidgetsVideo lesson
-
54Placing Widgets using QHBoxLayout and QVBoxLayoutVideo lesson
-
55Signals and SlotsVideo lesson
-
56Backend Operations in PyQtVideo lesson
-
57What you will developVideo lesson
-
58Setting up Visual studio codeVideo lesson
-
59Create Main WindowVideo lesson
-
60PyQT: Front End Design of Desktop AppVideo lesson
-
61Video Capture with OpenCV in PyQTVideo lesson
This lesson explain how to used multithreading (QThread) in PyQt and access web camera using OpenCV
-
62On Click Button functionVideo lesson
-
63Streaming Video in PyQTVideo lesson
-
64Connect Face Mask Deep Learning Model to Video Stream in PyQTVideo lesson
-
65Face Mask Desktop App with PyQtVideo lesson

External Links May Contain Affiliate Links read more


