ATtiny microcontroller development for Arduino programmers

- Description
- Curriculum
- FAQ
- Reviews
ATtinys are low-cost microcontrollers that impress with their small form factor and low power consumption (~4-8µA during DeepSleep). The ATtinys can be programmed easily and quickly in the familiar Arduino environment (IDE and C++), so you have a cheap alternative to the Arduinos and ESPs. The ATtinys can be operated with a button battery CR2032 and have enough memory for common DIY projects.
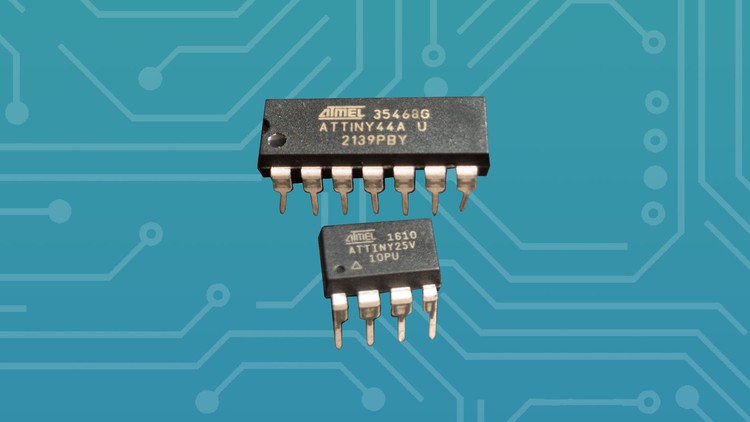
For the whole course the ATtinys 25/24, 44/45 and 84 as well as the Digispark ATtiny85 are used.
What we go through in the course:
-
Basics of Atmel ATtiny microcontrollers.
-
Getting to know different components like transistors, OLED displays, shift registers and much more.
-
Getting to know different upload variants for flashing the ATtinys
-
Use of Visual Studio Code with PlatformIO or Arduino IDE
-
Set hardware configurations like CPU clock frequency, brown-out detection etc.
-
Use of digital-analog GPIOs and PWM controls
-
Praxisbeispiel: Digital dice with random number and LEDs
-
Praxisbeispiel: Digital dice with WS2812b and FastLED
-
Praxisbeispiel: Binary clock with RTC Module and Shift Register
-
Praxisbeispiel: Plant monitor and Deepsleep with CR2032 Battery
-
Praxisbeispiel: Plant monitor with OLED
-
Praxisbeispiel: Tones (creating own Melody) as circuit board pendan
-
Praxisbeispiel: Transistor circuit with reedswitch and clap detector
-
Praxisbeispiel: Temperature sensor with OLED 0,96” at Digispark ATtiny85
-
Praxisbeispiel: DIY Rubber Ducky with Digispark ATtiny85
My approach in the course:
-
No (ok, only very few) slides/Powerpoint but more projects. We start in the basics immediately with a practical example. You can also try out the theory immediately with the ATtinys and thereby understand it better.
-
The practical projects are developed together in step-by-step instructions.
-
In this context, together means that I demonstrate the code, depending on the task, and you can follow the execution or rebuild your own way.
-
All codes are available for download on the platform, so you can get to the result without frustration.
-
No lengthy explanations or theory monologues, we start right away in the basics chapter.
Benefit from my years of experience and get the key skills in microcontroller development.
Get this course right now and you can start right away.
See you in class
Markus Edenhauser
-
8
 Introduction
 -
9
What is an ATtiny?
-
10
Which programming language?
-
11
How is the ATtiny flashed?
-
12
ATtiny variants 25/45/85 and 24/44/84
-
13
Technical specification using the ATTiny 44/45 as an example
-
14
Digispark ATtiny85 with USB
-
15
Pinout ATtiny 25/45/85 and 24/44/84
-
16
CPU clock speed
-
17
Overview of power consumption in idle mode
-
18
Brown-out Detection
-
19
Set hardware configuration
-
29
Introduction
-
30
Wiring
-
31
Upload with Arduino IDE 1.8.x and Arduino Uno
-
32
Upload with Arduino IDE 1.8.x and USB-ISP
-
33
Upload with VS Code PlatformIO and USB ISP
The Arduino as ISP Sketch (from the Arduino IDE) must be uploaded before. This was already shown in the previous videos.
-
34
Upload with VS Code PlatformIO and Ardiomp Uno
-
35
Upload to Digispark ATtiny85 with Arduino IDE 1.8.x
-
58
Project overview binary clock as keychain
-
59
Wiring
-
60
Set and read RTC SD1307 with Arduino Uno
-
61
Shift register 74HC595N Pinout and wiring
-
62
Set project settings and global variables
-
63
Shift Register test and control all LEDs
-
64
Convert decimal to binary code
-
65
Display Minutes with RTC and Shift Register
-
66
Read time and display hours with minutes
-
67
3D Print
-
68
Learnings Binary Clock