Learn Animation with Blender

- Description
- Curriculum
- FAQ
- Reviews
Join me for this curse for animation.
In this course, I will go through the process of creating an animated scene in Blender from scratch.
From the first step to the final render. In this curse, we will using blender 3.0. You’ll learn all the steps involved in bringing your own 3D animations to life.
We’ll start with the Blender user interface and navigation tools, providing you with a solid foundation before moving forward.
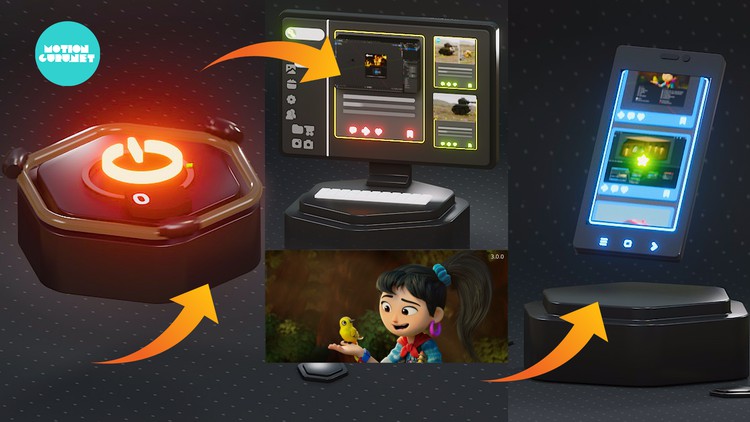
We are going to start modeling, three different objects:
• the turning on/off icon
• monitor
• the phone
from scratch. Here we will work together all necessary techniques for modeling.
Then we create a number animation using some of the new node in geometry node Blender 3.0 for text, which is very cool.
During this section, you will learn some of the modifiers and then we prepare for the next step, which is texturing. There we discuss how to apply a texture that you already made in Photoshop or any image you have and how we unwrap textures in an easy way and we will going to add other material as well.
The coolest thing here is that we are going to using new section of blender called: Assets library, which allow us to mark our material as an assets and save them for the future use by jut drag and drop them on an object.
After that we jump to the lighting part, we play around with blender lights, and we bring in a HDRI. Next is the most important part, which is animating. Here we will animate each of those three 3d objects that we modeled.
We explain the graph editor and timeline and how to play with interpolation mode and play around with some handle to get a very natural looking animation. Then we will parent each part to an empty and animate the empty as well.
The next step in rendering we will go through the setting for cycle and Evee and take a render and in compositing section, we will add some node to make that much nicer.
-
5
 Getting started with making icon for future using
 -
6
How to make a Hex-gon & play with curve
-
7
How to make a Hex-gon & play with curve part 2
-
8
Adding HDRI & Material
-
9
Modeling our monitor
-
10
How to create search bar
-
11
Making finish modeling the Monitor & Keyboard
-
12
Modeling the Phone
-
13
Adding icon to the phone & Instagram page
-
15
Animating the turning on-off icon & adding material
-
16
Adding lights & Compositing
-
17
Emission and adding some extra object to fill the empty Area
-
18
Animating all the rest part in the first collection
-
19
Creating material for Background using magic texture
-
20
Parenting all the part to one empty for final animation - collection one
-
21
Playing with objects origins and make them for- Monitor- animation
-
22
Animating the entire monitor part 1
-
23
Animating the entire monitor part 2
-
24
Working with assets library blender 3.0
-
25
Working with Bolean & How to apply video or image on our post
-
26
How to move multiple objects with animation on them using empty
-
27
Camera setting & parenting all part on monitor to one empty
-
28
Animating the empty